


Professional Embroidery Designs: Tips for Clean Machine Stitching
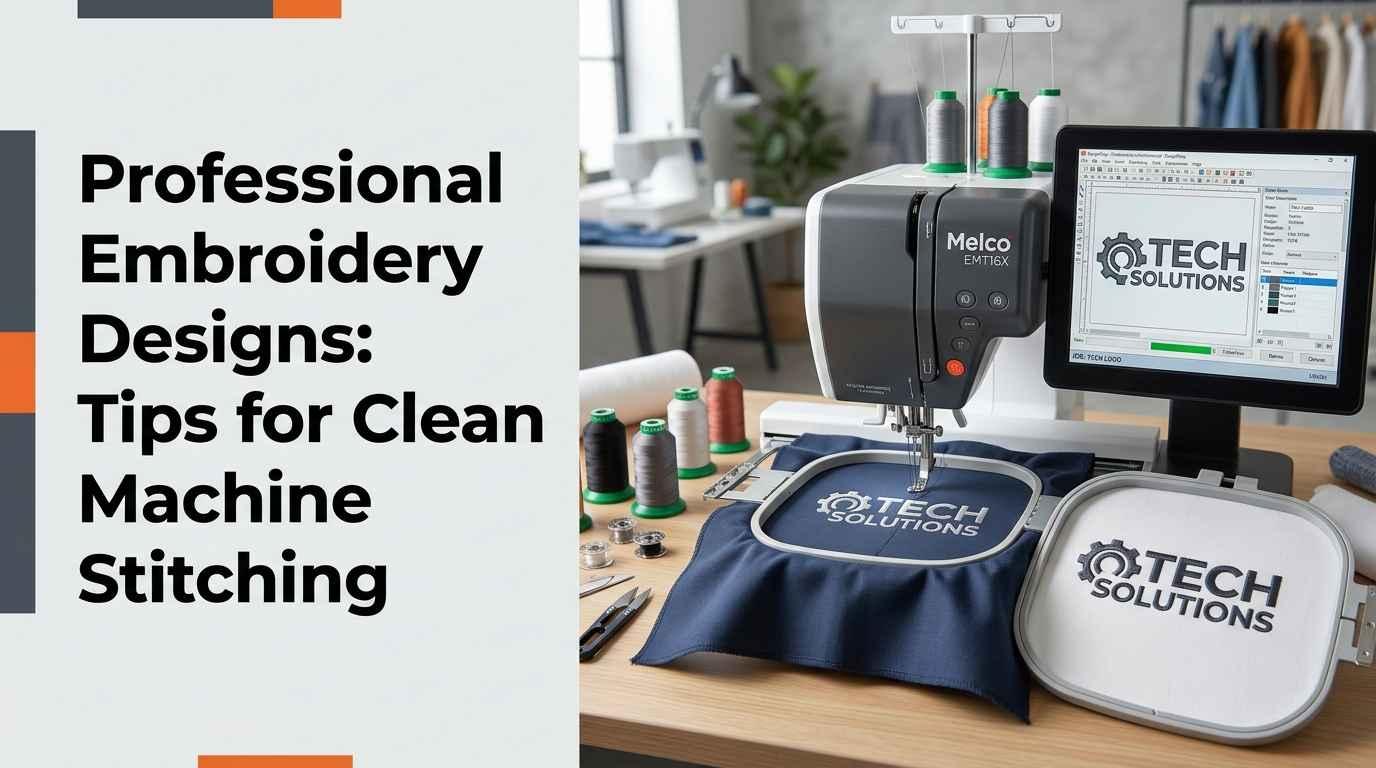
Professional embroidery designs require more than an attractive pattern. The quality of the final result depends on proper digitizing, suitable stitch settings, fabric selection, stabilizer choice, and machine performance. Even a well-designed pattern can produce poor results if its stitch density, underlay, or thread settings are not adjusted correctly.
Whether you are creating embroidered clothing, personalized gifts, business uniforms, caps, or promotional products, clean machine stitching helps achieve a professional finish. Understanding how embroidery designs are prepared and how different settings affect the final result can save time, reduce thread breaks, and prevent unnecessary material waste.
This guide explains the essential factors behind accurate machine embroidery and provides practical tips for improving stitch quality on different fabrics.
What Are Professional Embroidery Designs?
Professional embroidery designs are digital patterns prepared for embroidery machines using specialized digitizing software. These files contain instructions that tell the machine where to place stitches, which stitch types to use, and when to change thread colors.
Unlike ordinary images, embroidery designs must be converted into machine-readable stitch information. This process involves assigning stitch directions, densities, underlay, pull compensation, and other technical settings.
A professionally prepared design considers the fabric, thread type, embroidery size, and intended placement. These details help prevent problems such as fabric puckering, uneven lettering, gaps, and excessive thread buildup.
Why Accurate Digitizing Matters for Clean Stitching
Digitizing plays an important role in the final embroidery quality. A design may look perfect on a computer screen but produce disappointing results when stitched if its settings are incorrect.
Good digitizing ensures that each section of the design works properly with the embroidery machine and selected material.
Proper Stitch Density
Stitch density refers to how closely stitches are placed together. If the density is too high, the embroidery may become stiff, heavy, or difficult to stitch. It can also cause thread breaks and needle problems.
On the other hand, low stitch density may leave visible gaps, allowing the fabric underneath to show through.
Professional digitizing requires balanced density based on the fabric, thread thickness, and design details.
Correct Underlay Settings
Underlay stitches are placed beneath the visible embroidery stitches. They create a foundation that supports the design and helps maintain its shape.
Different materials require different underlay approaches. For example, stable woven fabrics may need less support than stretchy fabrics or materials with a soft surface.
Proper underlay can improve coverage, reduce fabric movement, and help small design elements maintain their intended appearance.
Appropriate Pull Compensation
During embroidery, thread tension and fabric movement can cause stitched areas to become slightly narrower than their original digital dimensions. This effect is commonly known as pull.
Pull compensation adjusts the design to account for this movement. Without suitable compensation, lettering and shapes may develop small gaps or uneven edges.
The correct amount depends on the material, stitch direction, design size, and machine setup.
Choose the Right Fabric and Stabilizer
Fabric selection has a direct impact on embroidery results. Different materials respond differently to needle penetration, thread tension, and stitch density.
For example, cotton is generally easier to embroider because it provides a relatively stable surface. Stretch fabrics such as jersey require additional support to prevent distortion. Towels and fleece may need a water-soluble topping to keep stitches from sinking into the material.
Stabilizers also play an important role in maintaining design accuracy.
Cut-away stabilizers are commonly used for stretchy fabrics and garments that need lasting support. Tear-away stabilizers work well with many stable woven materials. Water-soluble stabilizers are useful for delicate fabrics and textured surfaces where additional support or a smooth stitching surface is needed.
Selecting the correct stabilizer for the fabric helps reduce puckering and improves the overall appearance of the embroidery.
Select the Correct Needle and Thread
The needle and thread combination affects stitch formation, embroidery texture, and machine performance.
Using an unsuitable needle can damage delicate fabric, create skipped stitches, or cause frequent thread breaks. A needle should be selected according to the fabric type, thread thickness, and embroidery requirements.
Polyester embroidery thread is a popular choice because of its durability and color retention. Rayon thread is also used when a soft finish and attractive sheen are desired.
Thread quality matters as well. Low-quality thread may produce lint, inconsistent tension, and frequent breakage. Using reliable embroidery thread and replacing damaged needles can help maintain consistent stitching.
Adjust Embroidery Machine Settings Properly
Even professionally digitized designs need suitable machine settings. Incorrect tension, speed, hooping, or thread paths can affect the final output.
Before starting a large embroidery project, check the machine's condition and settings.
Maintain Balanced Thread Tension
Thread tension controls how the upper and bobbin threads interact during stitching. Incorrect tension can cause looping, thread pulling, or visible bobbin thread on the top surface.
The ideal tension depends on the machine, thread, fabric, and design. Test stitching helps identify whether adjustments are necessary.
Use an Appropriate Stitching Speed
Running an embroidery machine too quickly can affect accuracy, especially when working with small lettering, detailed patterns, or thick materials.
Reducing the speed for complex sections may improve stitch formation and help prevent thread breaks. Follow the machine manufacturer's recommendations and adjust the speed according to the design requirements.
Hoop the Fabric Correctly
Proper hooping keeps the fabric stable while the machine works. Loose hooping can cause fabric movement, misalignment, and distorted shapes.
However, stretching the fabric too tightly can also create problems. The material should remain smooth and properly supported without being pulled out of its natural shape.
How to Improve Small Details and Embroidery Lettering
Small details require careful digitizing because limited space leaves little room for stitch adjustments. Tiny text, narrow outlines, and closely spaced elements can become difficult to reproduce accurately.
For better results, use lettering sizes that suit the fabric and embroidery application. Choose appropriate fonts, avoid unnecessary fine details, and maintain sufficient spacing between letters.
Satin stitches are commonly used for lettering and narrow shapes, while fill stitches work well for larger areas. Running stitches are useful for fine outlines and delicate details.
Choosing the right stitch type for each design section helps improve readability and prevents excessive thread buildup.
Common Embroidery Problems and How to Fix Them
Machine embroidery problems can occur even when using quality designs and materials. Identifying the cause helps prevent repeated mistakes.
Fabric Puckering: This often happens when the fabric is not properly stabilized, the hooping is incorrect, or stitch density is too high. Use a suitable stabilizer and review the design settings.
Thread Breakage: Frequent breaks may result from a damaged needle, poor-quality thread, incorrect tension, or excessive stitching speed. Check the thread path and replace worn needles when necessary.
Skipped Stitches: Incorrect needle selection, needle damage, improper timing, or unsuitable machine settings can cause skipped stitches. Inspect the needle and machine setup before continuing.
Uneven Lettering: Small text may look inconsistent because of poor digitizing, unsuitable stitch types, or incorrect density. Adjust the lettering size and stitch settings to suit the material.
Visible Gaps: Gaps between design elements may result from insufficient pull compensation or fabric movement. Review the digitizing settings and perform a test run.
Why Test Stitching Is Important Before Production
A test stitch is one of the most useful steps in professional embroidery. It allows you to evaluate the design before applying it to the final product.
Testing on a similar fabric helps identify problems with stitch density, thread tension, underlay, lettering, and overall design placement.
For business orders and bulk embroidery production, testing is particularly important. A small adjustment before production can prevent wasted garments, additional thread costs, and delays.
After completing the sample, inspect both the front and back of the embroidery. Look for uneven coverage, loose threads, fabric distortion, and excessive thread buildup. Make the necessary adjustments before starting the final batch.
Benefits of Using Professionally Digitized Embroidery Designs
Professionally digitized designs can make embroidery production more reliable when they are prepared for the intended material and machine.
They help improve stitch consistency, maintain design proportions, and reduce common production problems. Proper digitizing can also support smoother machine operation and minimize unnecessary thread changes or excessive stitching.
For embroidery businesses, these improvements can contribute to better production efficiency and more consistent customer results.
However, design quality alone does not guarantee perfect embroidery. Fabric preparation, stabilizer selection, machine maintenance, and proper testing remain essential parts of the process.
Conclusion
Clean and accurate machine stitching depends on several factors, including professional digitizing, suitable stitch density, correct underlay, fabric preparation, and proper machine settings. Each step contributes to the appearance, durability, and consistency of the finished embroidery.
By selecting appropriate materials, using the correct stabilizers, maintaining balanced thread tension, and testing designs before production, you can reduce common stitching problems and achieve more reliable results.
For embroidery projects that require carefully prepared digital designs and dependable stitching quality, zdigitizing.net is a resource worth considering. Combining proper digitizing practices with the right machine setup can help produce neat, durable, and professional embroidery on a wide range of materials.

 English
 Arabic
 French
 Spanish
 Portuguese
 Deutsch
 Turkish
 Dutch
 Italiano
 Russian
 Portuguese (Brazil)
 Greek